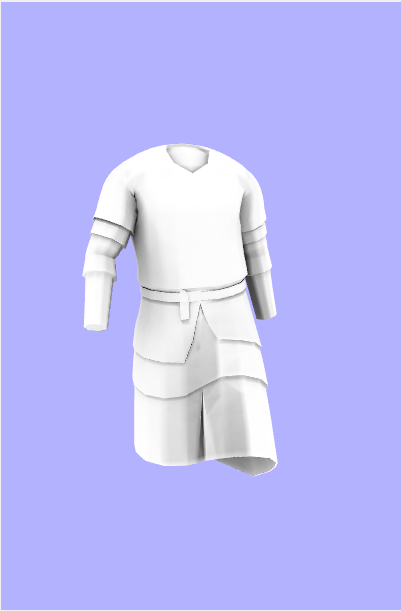
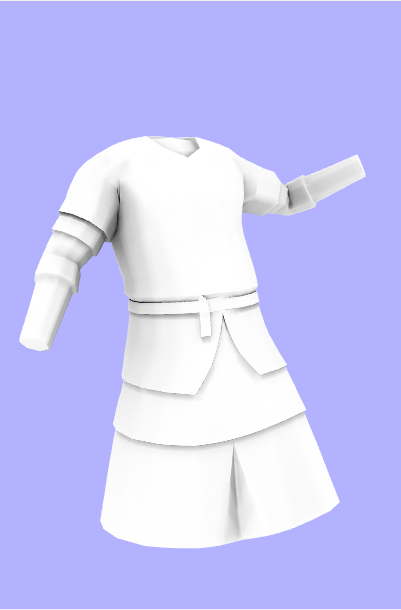
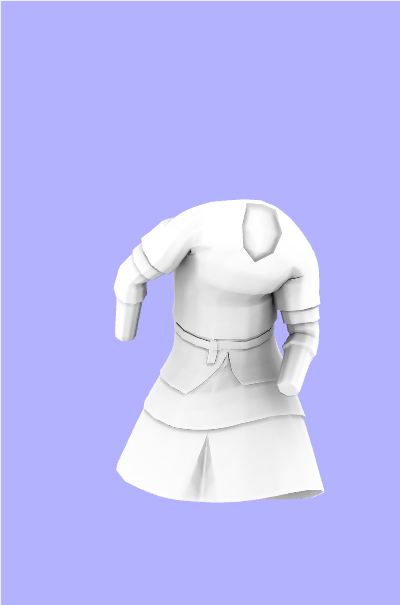
In this project, I implemented precomputed AO for animated meshes. I used the source code of Accurate and Efficient Lighting for Skinned Models to construct my own code. I changed especially file reading (for models, and animations), skinning parts, and shaders. I kept the original implementation for Qt GUI except adding a new button for AO.
Currently, I am using only LBS. But, the code can be easily extended for DQS.
Loading Animations and Models
After constructing GUI, the project continues with loading of selected animations, and models (meshes). The project uses SMD files for animations, and models. Loading of the animation is mostly related to generating transformation matrices related to skinning. For details, you can check skinning page.
Firstly, the animation is loaded. After the rest pose is read from the file, local matrices of the joints are calculated. From the animation file, the position of the joints, and Euler angles are read. So, local matrices, including translation, and rotation is created in this step. The local matrix calculation is followed by world matrix calculation for the rest pose. Then, using the world matrices, inverse binding matrices are calculated for skinning operation.
This operation continues with reading animation frames, and calculating the transformation matrices for each frame. All transformation matrices of each frame are calculated before rendering starts.
After all frames are read and transformation matrices are calculated, the process continues with loading mesh (model) file. This step also includes increasing mesh tessellation if this option is selected. For the tessellation details, you can check Increasing Mesh Tessellation, and Interpolation page.
At this step, rest pose values of vertex positions, vertex normals, and UV coordinates, skinning weights with corresponding bone indices are read, and put into related data structures (or class members). If increasing tessellation is selected, this operation is performed after each three vertices of the triangle are read.
Before starting the calculating or loading precomputed AO values, normals of the vertices are recalculated because, artist normals are problematic. For this operation, area weighting is used.
Ambient Occlusion Calculation or Loading
Ambient occlusion can approximate effects of global illumination with significantly faster computation cost. For details about AO, you can check AO part of this page.
The project firstly check for the .ao for selected model, and animation. If this file exists, it is loaded. .ao files keep precomputed AO factor values for each vertex for each frame.
If there is no .ao file, AO calculation is started. This calculation follows the algorithm below:
- Pose the mesh (Skinning)
- Set up the scene for ray tracing (Related with Embree)
- Calculate per vertex AO result by ray tracing per vertex
- Save the values
Important note for the first step is always posing the skeleton from rest pose. Otherwise, skinning is done wrong, and the model becomes something crazy. Also, again, at this step, you should also transform vertex normals. The important thing about this operation, using the inverse transpose of the transformation matrices for transforming the normals. So, you also need to calculate inverse transpose of each transformation matrix for each frame.
Also, for the ray tracing part, for getting the best results with less samples, you can use cosine-weighted hemisphere sampling. However, you should be sure that normals of the model are correct, and generally artist normals are very problematic. For details about cosine-weighted hemisphere sampling, you can refer “Generating Directions and Converting Them into the World Space” part of this page.
The algorithm above is performed for each frame of the animation. For each frame, the skeleton is posed from rest pose, and AO values are traced for each vertex.
Rendering AO
AO factors are converted into colors (by assigning the same for R, G, and B), and sent to the shader as an attribute which means this operation is done per vertex, and AO values are sent for each vertex. This operation is performed in paintGL() method.
For rendering AO results, I used a simple fragment shader named ao.fragment.glsl:
|
1 2 3 4 5 6 7 8 9 |
#version 120 varying vec3 v_aoColor; void main() { gl_FragColor.a = 1.0; gl_FragColor.rgb = v_aoColor; } |
Results
Results contains “leather_armor_a” model with “man_walk“, “death”, and “strikes” animations with two times tessellation (around 25 000 vertices).


